Helpful hints
The following information will help you make the projects in this
section. If a special skill is needed, the directions will tell you the
page on which that skill is explained. For example: “Saw along these
lines (see sawing, page 202).” If you do not know how to saw wood,
you will find directions on page 202.
Wood is the basic material used for this section’s projects. When you
want to work with wood, you should gather the wood before you begin the
project.
Your parents or older people you know may have leftover wood scraps
you can use. But, always ask their permission before you take the
wood.
If someone is building or repairing a house, they will sometimes let
you have wood scraps. If you live in an apartment building, the
superintendent may be able to help you. You can also get wood scraps
free, or for a small charge, at a lumberyard. Ask one of the salesmen if
you can look through the scrap barrel.
Sometimes, buying new lumber at a lumberyard is the only way you’ll be
able to get what you need. Most lumber is cut to a specific width and
thickness. Use these measurements to ask for what you want.
For example, a 2 x 4 is a piece of lumber about 2 inches (5 cm) thick
and 4 inches (10 cm) wide. Actually, it is a little smaller because the
rough wood has been smoothed and evened.
You should also know how long a piece you’ll need. Most lumber comes
in lengths that are multiples of 2 feet (0.6 m), starting at 4 feet (1.2
m).
Plywood is a special wood that is sold in large sheets. It is made of
several layers of thin wood glued together to make a wood “sandwich.” If
you look at the edge of a piece of plywood, you\’ll see these layers.
The thinnest plywood is 7 inch (7 mm) thick.
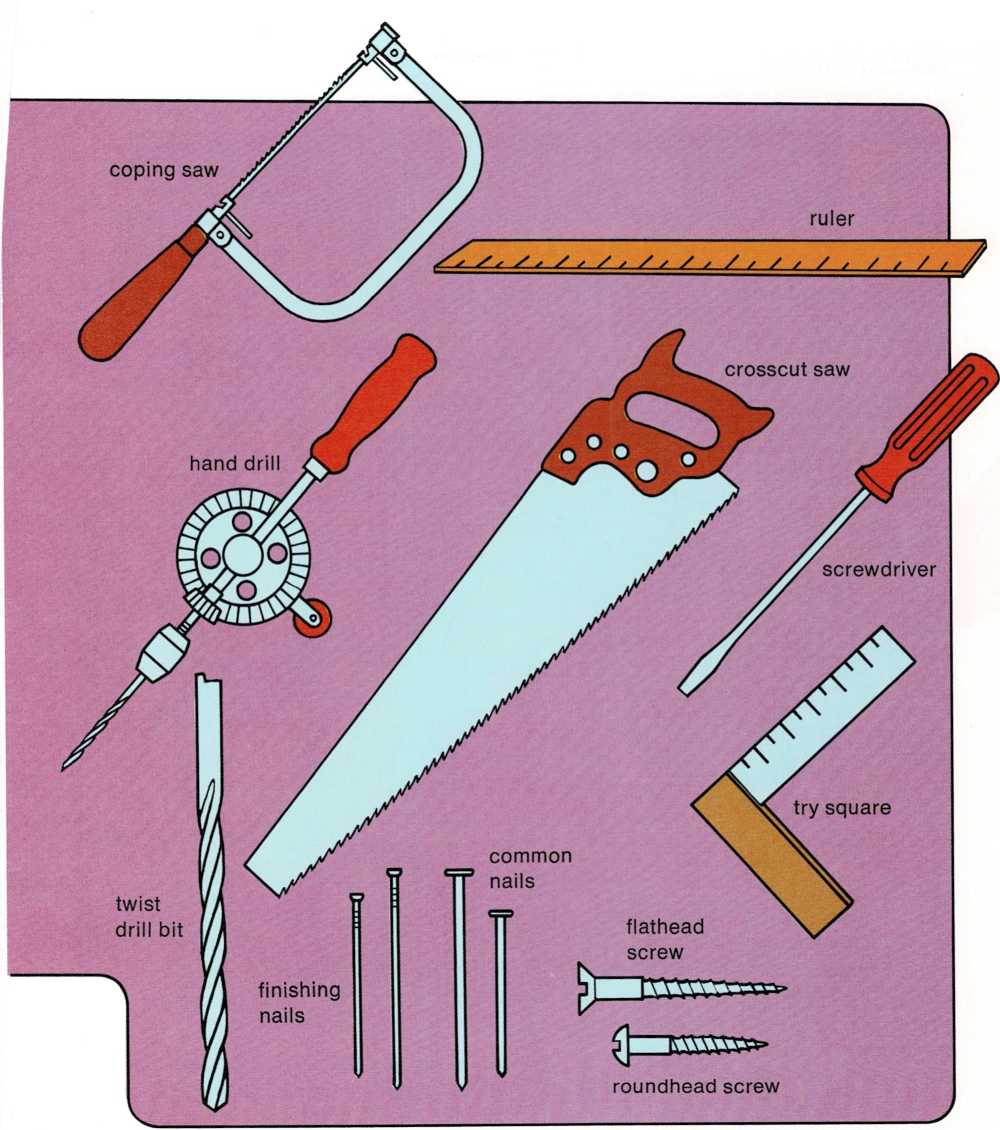
The woodworking tools you’ll need may have to be borrowed from a
grown-up. Always ask permission to use someone else’s tools. And be sure
to return the tools in good condition and to their proper place.
Warning: Be careful when you use woodworking tools. They are not
toys. Follow the directions for using the tools. And don’t be afraid to
ask a grown-up for help.
(continued on page 200)
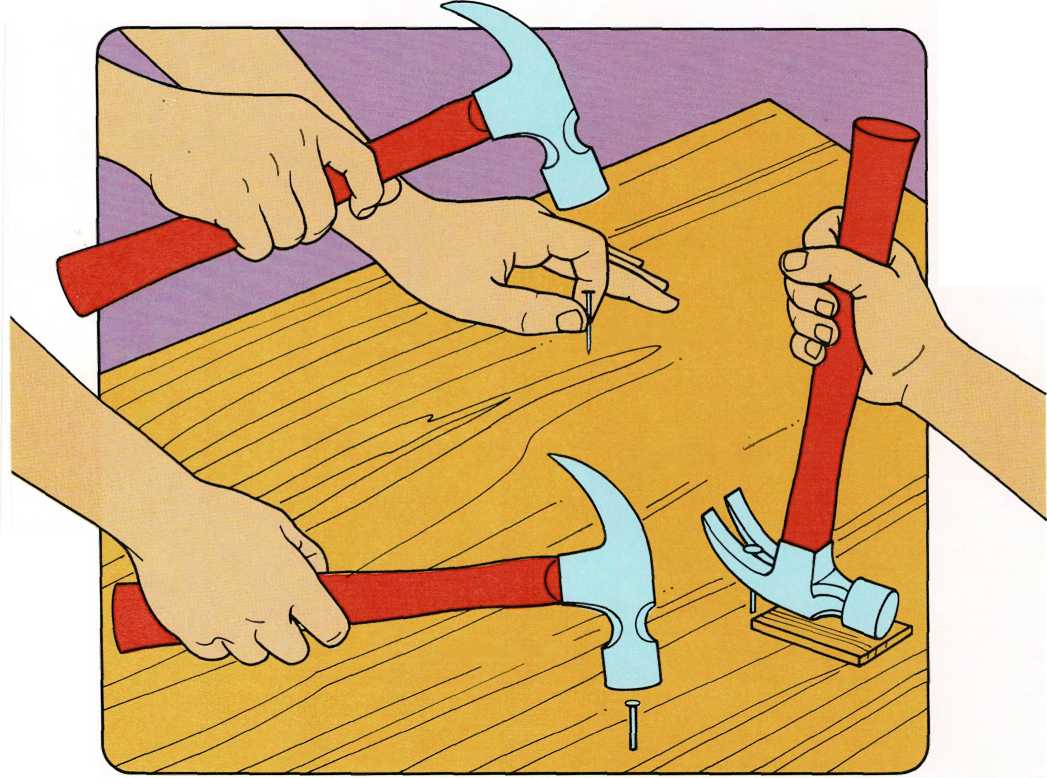
driving a nail
starting a nail
pulling out a nail
Driving nails into wood is the easiest way to fasten pieces of wood
together. Make a pencil mark where you want to put the nail. Hold the
nail in place with one hand. Hold the hammer near the middle of the
handle with your other hand. Tap the nail until it stands up by itself.
Then hold the hammer near the end of the handle. Don’t hold the nail.
Drive the nail all the way into the wood.
If the nail starts to bend, tap it on the side until it is straight.
If you can’t straighten.it, you will have to pull it out and start
over.
To pull out the nail, hook the head of the nail in the claw of the
hammer. Slide a thin piece of wood under the head of the hammer Then
pull on the handle until the nail comes out.
Remember, use common nails with large flat heads where you don’t care
if the nail shows. Use finishing nails with tiny heads where you want
the nail to be less visible and even with the surface of the wood. The
nail should be long enough to go through one piece of wood and part way
into the second piece, and thin enough not to split the wood.
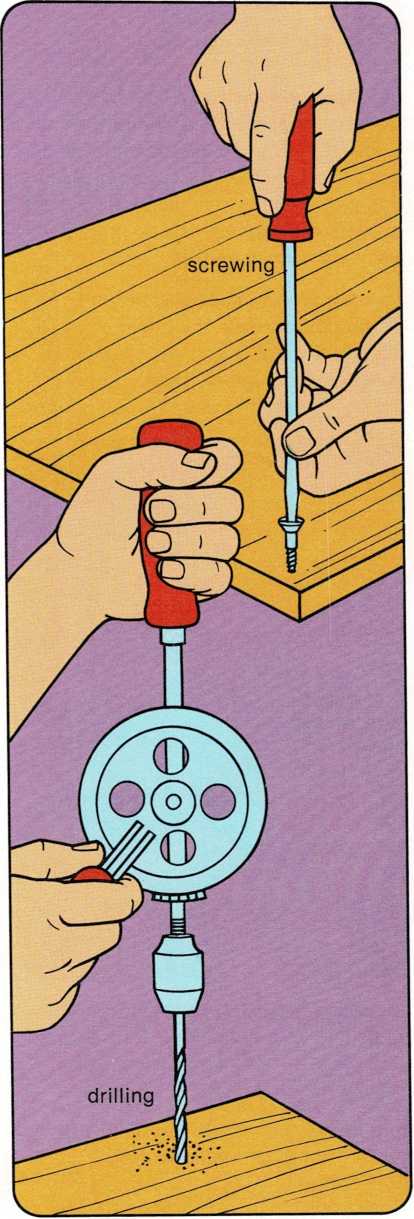
Driving screws into pieces of wood to fasten them together makes a
stronger joint than one fastened with nails. Always use a screwdriver
that fits the slot as tightly as possible, and coat the threads of the
screw with soft soap. This will make the job easier.
To drive small screws into soft wood, tap the screw with a hammer until
the screw stands in the wood by itself. For larger screws, first drill a
pilot hole (see drilling, page 201). Put the blade of the
screwdriver into the screw\’s slot. Hold the tip of the screwdriver with
one hand. Grip the handle of the screwdriver with your other hand. Turn
the screw clockwise.
Remember, use flathead screws where you want the screwhead even with the
surface of the wood. Use roundhead screws when you want the screwhead to
decorate the project. The size screw you use should be long enough to go
through one piece of wood and part way into the second piece, and thin
enough not to split the wood.
Drilling holes makes it easier to drive screws (and nails if the
wood is likely to split). The twist drill bit you use with the hand
drill should be a little smaller in diameter (thickness) than the screw
or nail you are going to use.
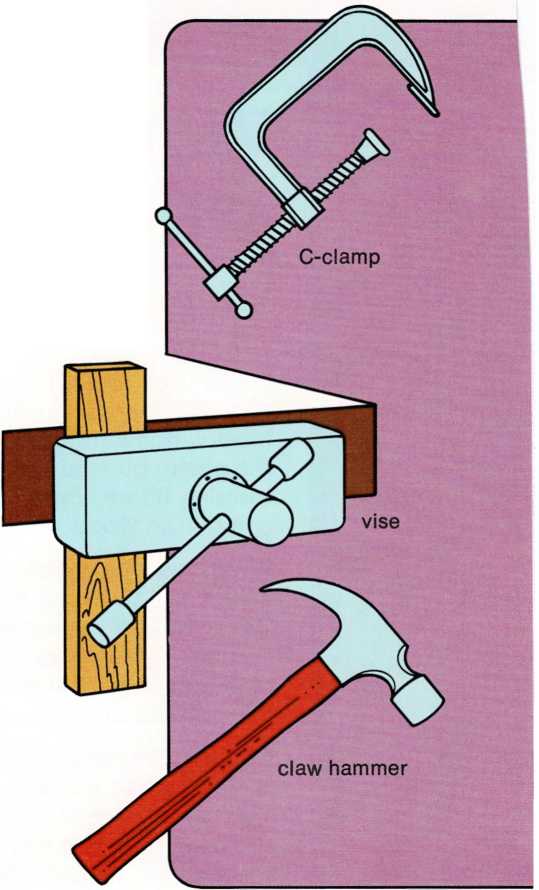
Make a pencil mark where you want the hole. Clamp the wood in a vise, or
use C-clamps to attach it to a table. Place the point of the twist drill
bit on the pencil mark. Drill with a steady, even pressure.
If you are drilling a hole for a nail, drill through one piece of wood
only. If you are going to use a screw, drill the hole through one piece
of wood and part way into the second piece, (continued on page 202)
Squaring is important when you want to cut several pieces of wood from
a single board, or when you want to cut two pieces that will fit
together evenly. Use a try square to make sure the end of a board is
square and to draw lines across a narrow board.
To check for squareness, fit the corner of the board inside the angle
of the try square. If there is any open space between the edge of the
board and the try square, the board is not square.
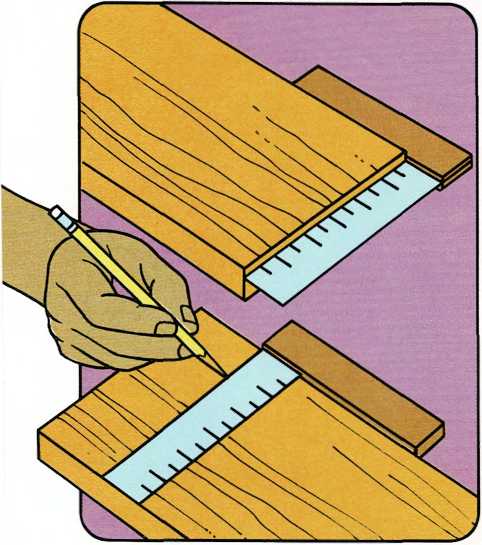
To square the end, use the edge of the try square as a guide and draw
a line, as shown. Cut the wood on this line.
Once the board is square, use a ruler to measure the length you need.
Use the try square as a guide when drawing the cutting lines. Always
check your measurements before you start to saw.
Sawing is easy if you hold the wood firmly. Use a vise or C-clamps to
hold small pieces of wood. Rest long pieces on two sawhorses or old
chairs, and hold the wood in place with your knee. The piece you are
sawing off should stick out beyond the sawhorses.
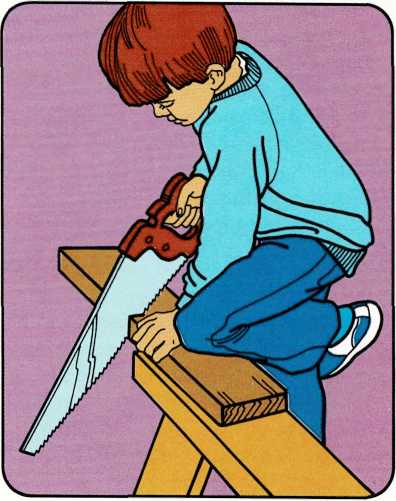
Before you start to saw, mark the cutting line (see squaring, page
202). Always work so you can see this line as you saw.
Start the cut with short upstrokes near the handle of the saw. Once
the cut is started, you can make long strokes as you push and pull the
saw. Put pressure on the downstrokes only. If you cut only on the
downstrokes, you will cut faster and not get tired.
You must support the piece of wood you are sawing off, or the board
will splinter. If you are cutting off a small piece, reach over the saw
and hold the edge of the wood. If the piece is too big for you to
support with your hand, put a box under it.
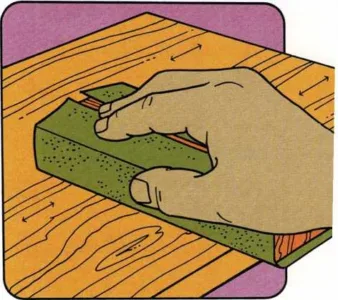
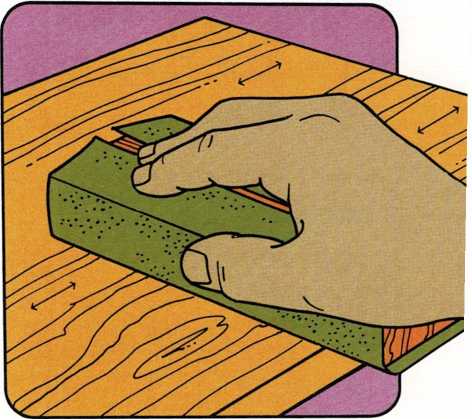
Sanding gives wood a smooth finish. Sandpaper, or flint paper, is
marked coarse, medium, and fine. Start sanding with coarse or medium
paper and finish with fine paper.
To make sanding easier, wrap the sandpaper around a small block of wood.
If the sandpaper is too big for the block, tear it to fit.
Sand with the grain of the wood, not across it. The grain runs in the
same direction as the little lines you see in the wood. When you have
sanded both sides of the wood, smooth the edges and the corners.
Finishing the wood will change the appearance of the entire project.
You can decorate wood with felt-tip pens, paint, or wood stain. Work
directly on the bare wood.
To protect your decorations and to give the wood a shiny look, brush on
varnish or polyurethane, a plastic varnish. But be very careful. Varnish
has two enemies, dust and bubbles.
To make a tack rag, pour a little varnish on a piece of old sheet or
other cloth that is not fuzzy. Cover your hands with a plastic bag and
squeeze the varnish into the rag. Store your tack rag in a closed jar.
This will keep the rag from drying out.
Bubbles will also make rough spots on your project. To prevent bubbles,
don\’t shake the can or stir the varnish.
Dust will leave rough spots on your project. To remove dust, wipe your
project with a tack rag before you apply the varnish.
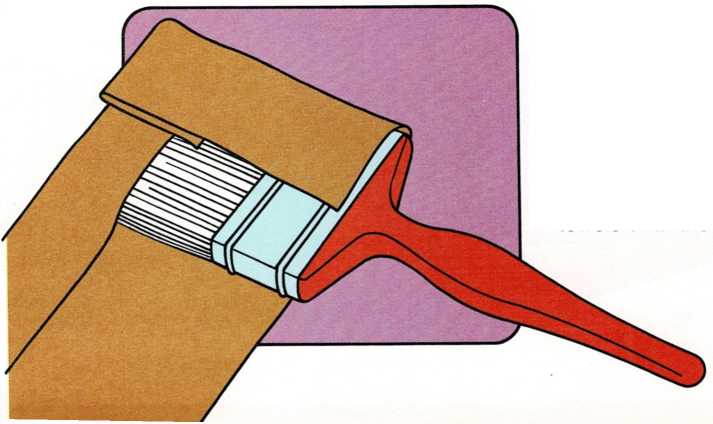
If you do, you will make bubbles in the liquid that will brush right
onto your project.
When you brush on the varnish, use long even strokes. Brushing too much
also causes bubbles. And no matter what you do, once you’ve got bubbles,
they are there to stay.
Clean your brushes in turpentine when you are finished using them.
Then wash the bristles with soap and water. Wrap the brushes in paper
towels until the bristles are dry.

