Slither the snake
Materials
bath towel or dish towel
felt-tip pen
felt scraps
needle (tapestry, darner, or crewel)
ruler
scissors
straight pins
stuffing (old, cut-up socks, stockings, or rags)
e yarn
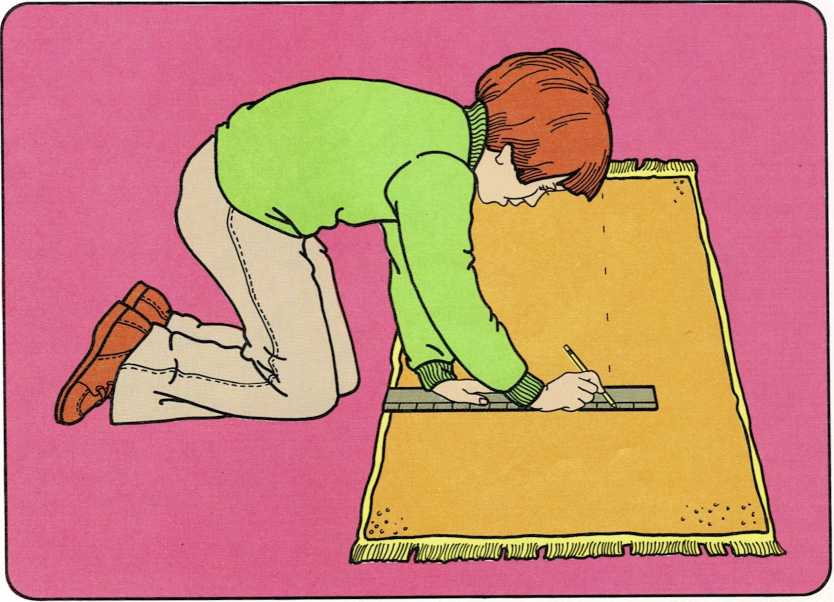
1 Measure 10 inches (25 cm) in from one of the long edges of the
towel. Make a mark there. Do this in several places. Using the marks as
a guide, draw a straight line on the towel. Cut along the line. You will
use this strip of towel for Slither’s body.
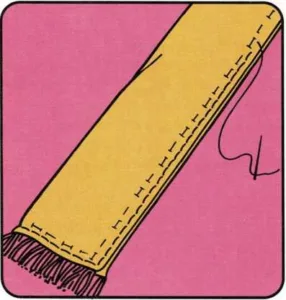
- Measure 2-j inches (6 cm) in from one of the long edges of Slither’s
body. Make marks and draw a line as you did in step 1.
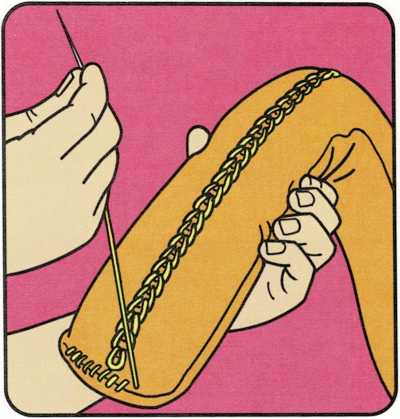
With yarn, make a row of chain stitches (see chain stitch, page 157)
along the line you just drew. Finish off your sewing (see finish
off, page 155). (continued on page 170)
Slither the snake
(continued from page 169)
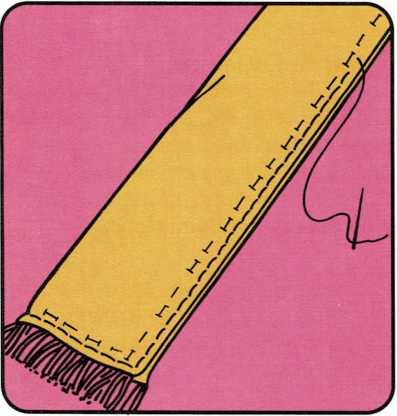
- Fold the strip in half, the long way, with the chain stitches on the
inside. Pin the long edges and one short end. Place the pins about
\| inch (1 cm) from the edges.
With the backstitch (see backstitch, page 156), stitch the pinned
edges together just below the pins. Finish off your sewing.
Take out the pins and turn Slither inside out, through the open end.
- Push stuffing in through the open end. You may have to use a ruler
or a long stick to help push the stuffing in. Make Slither nice and
fat.
- Fold the edges of the open end under about j inch (1 cm) and pin
them together. Using yarn, stitch the opening closed with the
overcast stitch (see overcast stitch, page 156). Finish off your
sewing. This end is Slither’s head.
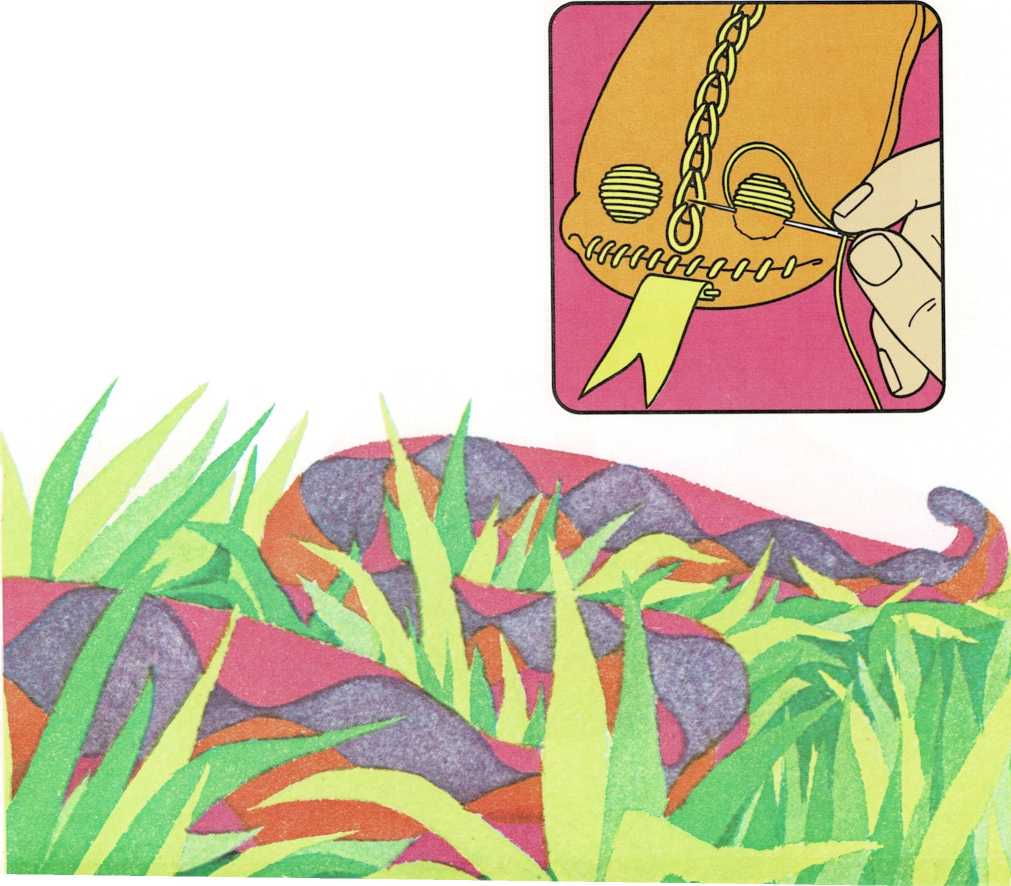
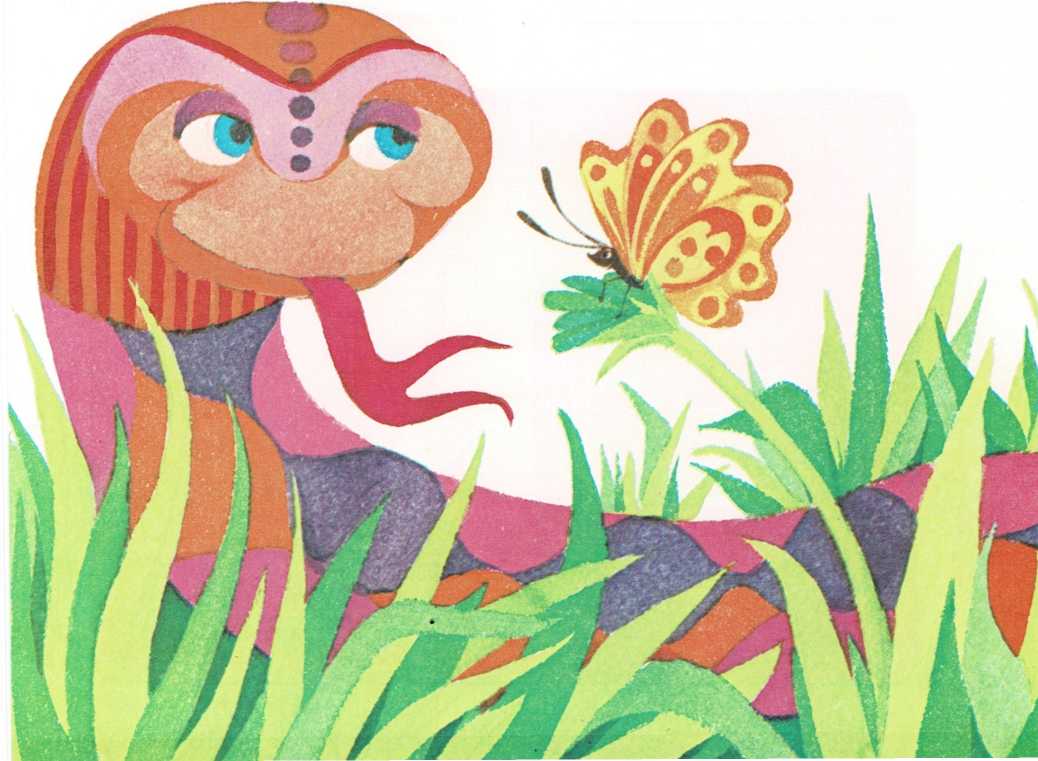
- Cut out a shape for Slither’s tongue from a piece of felt. Sew the
tongue on just below the overcast stitching. Draw an eye on each
side of the row of chain stitches. Use the satin stitch (see satin
stitch, page 157) to fill in the eyes with yarn. Slither the snake
is ready to live in your room.

