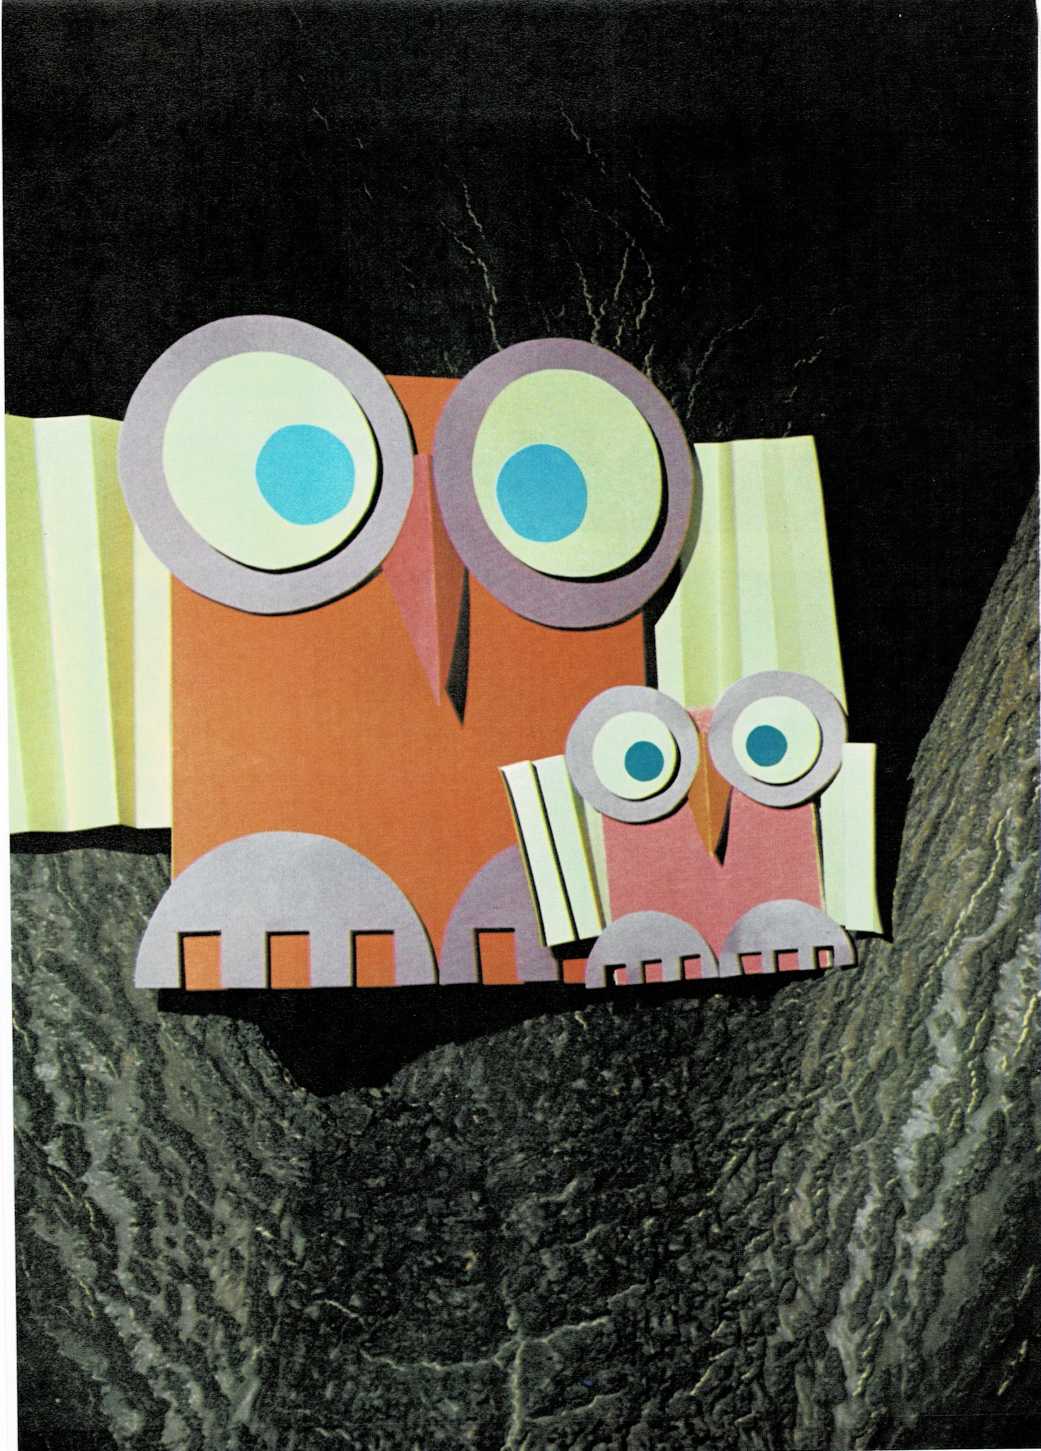
Ollie the owl
Materials
cardboard box (large)
construction paper
(three colors)
glue (white)
scissors
transparent tape
Find a large cardboard box (grocery stores usually have plenty).
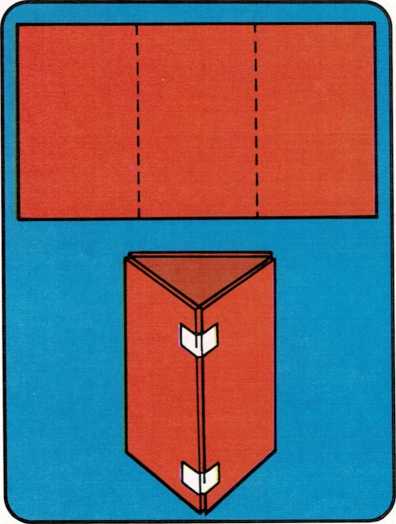
From the box, cut off a piece of cardboard about as long as your arm
and as wide as this page.Divide the piece of cardboard into three equal parts by drawing two
straight lines on it, as shown. Score the cardboard along these
lines (see scoring, page 36).
Now fold the cardboard along the scored lines until the two ends meet.
Tape the ends together. This will be Ollie’s body.
- From the cardboard box, cut a long strip about as wide as your
thumb. Cut this strip into eighteen small pieces. Glue three of the
pieces together to make a thick stack. Make six of these stacks.
(continued on page 52)
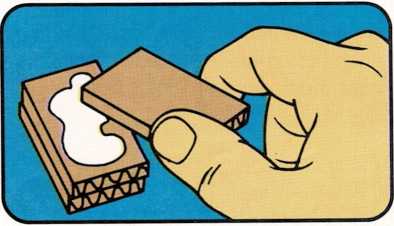
Ollie the owl
(continued from page 51)
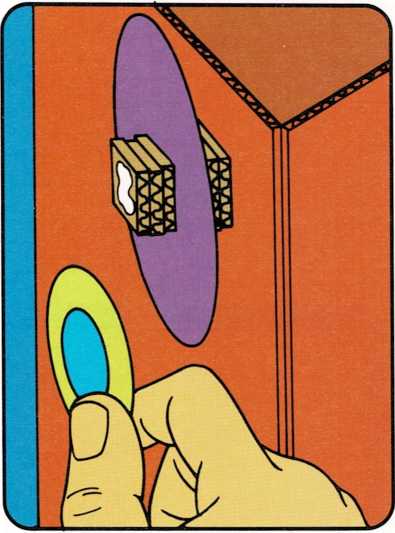
- Cut out six circles (two large, two medium, and two small) from
construction paper. Use a different color for each size. These
circles will be Ollie’s eyes.
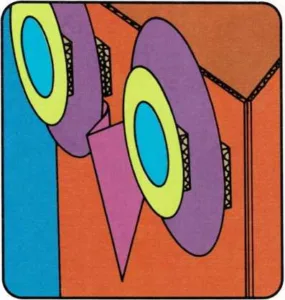
To make the first part of the eyes, glue a cardboard stack on both sides
of each large circle. Then put glue on one of the stacks on each of the
circles. Glue these stacks near the top of Ollie’s body.
To make the rest of the eyes, glue the medium-sized circles to the
stacks on the large circles. Now glue the small circles on top of the
medium-sized circles.
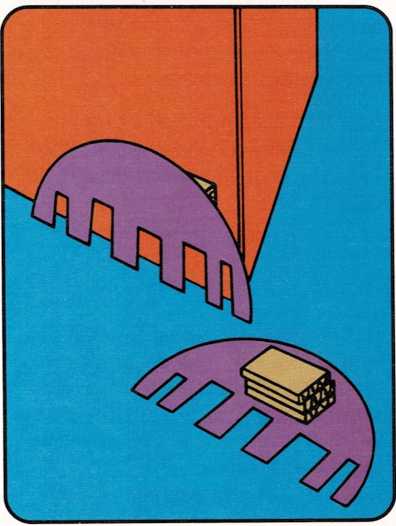
- To make Ollie’s claws, cut out a large circle from construction
paper. Cut the circle in half.
Fringe the straight edges of the half-circles (see fringe, page 37).
Now cut off every other piece of fringe.
Glue a cardboard stack to one side of each half-circle. Now glue the
stacks near the bottom of Ollie’s body.
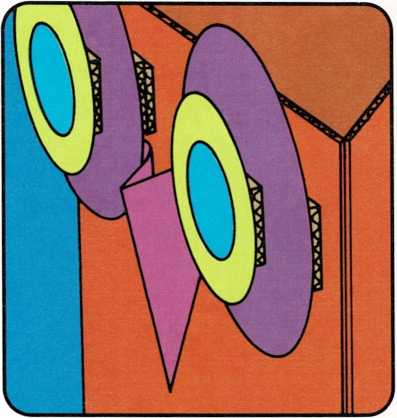
- To make Ollie’s nose, cut out a triangle from construction paper
(see triangle, page 38). Fold the triangle in half. Open it up a
little. Then glue the edges of the triangle between Ollie’s eyes.
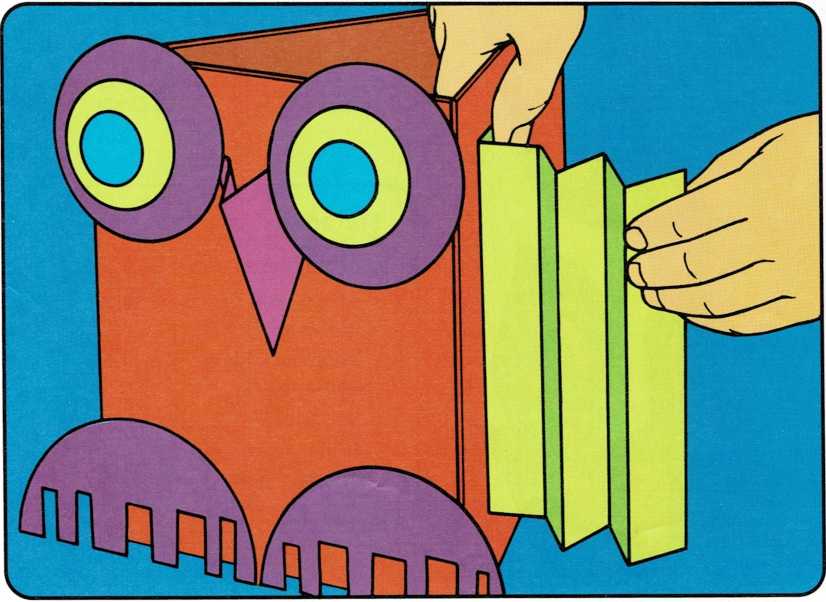
7 To make the wings, cut a sheet of construction paper in half.
Pleat each half, the short way (see pleat, page 36). Then glue a
pleated half-sheet to each side of Ollie’s body.
