Lion wall decoration
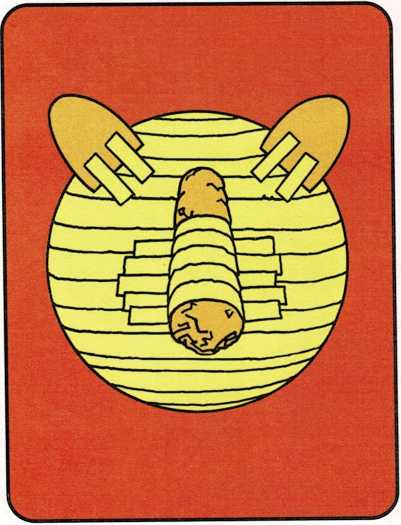
Place a paper plate on a flat surface. Cover one side of the plate
with two or three layers of papier-mache strips (see strip
papier-mache, page 88). Be sure to smooth down all of the strips.Draw a pattern for the lion’s ears. Place the ear pattern on top of
twelve pieces of newspaper. Cut out twelve ears.
Paste six of the ears together, one on top of the other. Do the same
thing with the other six ears.
- Use short papier-mache strips to fasten the straight edges of the
ears near the top of the plate, as shown.
Materials
aluminum foil
newspaper
paintbrushes
paper plate
scissors
strip papier-mache
tempera paint
transparent tape

4 Crush a piece of newspaper to make a shape for the lion’s nose.
Place the crushed paper in the center of the plate. To hold the nose in
place, paste a layer of papier-mache strips over the nose and part of
the plate. Make sure that the strips cover the nose. Smooth down any
bumpy parts with your fingers.
5 Cover the plate and the nose with three layers of papier-mache
strips. Follow the shape of the nose as you paste down the strips.
Let the papier-mache dry (see dry, page 89). When it is completely
dry, you can paint the mask with tempera paint. Be sure to paint on the
lion’s eyes and mouth.


- Cut off four narrow strips of aluminum foil for the lion’s whiskers.
Fold each strip the long way. Cut each strip in half. You now have
eight strips.
Hold four of the strips together so that the ends overlap. Tape the ends
together to make a set of whiskers. Do the same thing with the other
four strips. Now tape a set of whiskers on each side of the nose.
- Cut off two medium-sized strips of aluminum foil for the lion’s
mane.
Carefully fringe, then roll each strip (see fringe and roll,
page 37). Tape the fringed strips around the edge of the plate.
Tape a loop of string to the back of the plate and your mask is ready to
hang on your wall or bulletin board.

