
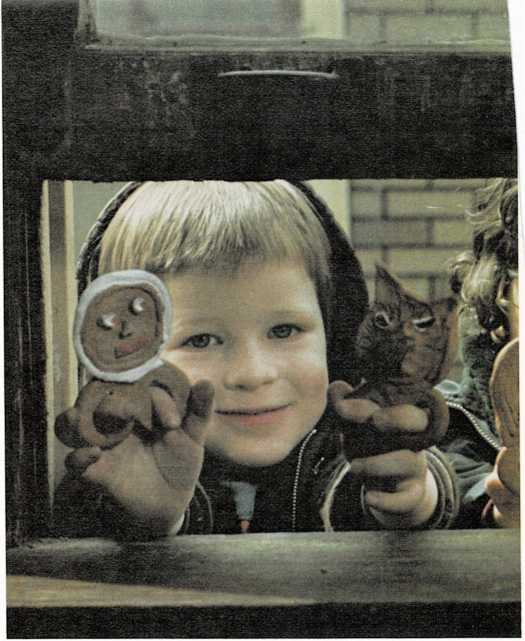
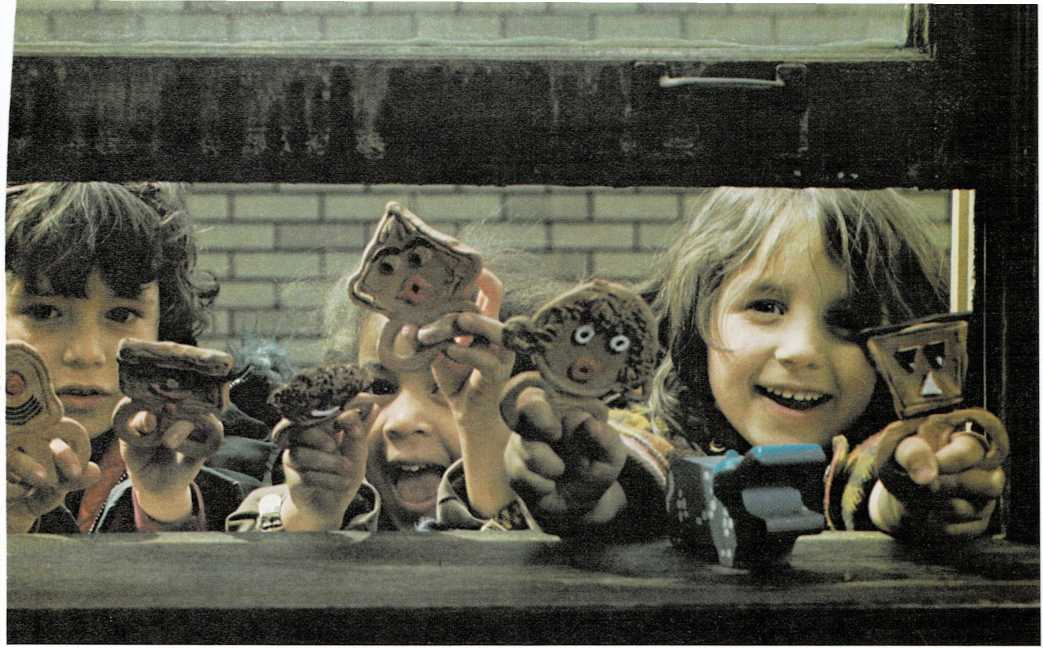
Eskimo finger mask
Materials
■ clay (hardening)
■ glass (small)
■ pan
■ water
Read about hardening clay (page 108) before you start this project.
1 To make the face part, break off a lump of clay and flatten it
(see flatten, page 111) until it is about as thick as your first
finger.
Using a small glass as you’d use a cookie cutter, cut out one clay
circle.
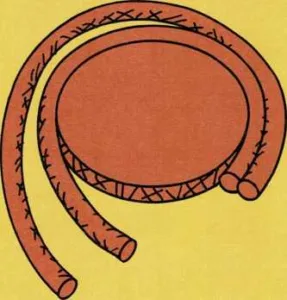
2 Break off two lumps of clay, each about the size of a large
marble. Roll two coils (see coil, page 110). These coils should be
as long as your circle is round.
3 Score (see score, page 111) the edge of the circle and the
coils. Moisten the scored edges with water. Then stick the two coils to
the edge of the circle.
4 For eyes, nose, and mouth, stick small pieces of clay to the
circle.

To make finger loops, break off a lump of clay about the size of a
large marble. Roll the clay into a coil about twice as long and as
thick as your first finger. Flatten the coil.Turn in each end of the flattened coil so that you have two circles.
The circles should be large enough to fit around your fingers. Score
the edges that touch. Then moisten them with water and stick them
together.Score the top of the finger loops and the bottom edge of the face.
Moisten the scored edges with water and stick them together.
To strengthen the joint between the face and the finger loops, roll a
thin coil of clay and gently press it into the joint.

More than a hundred years ago, Eskimos used finger masks like this when
they acted out stories in dance.