Ellie the elephant
Materials
cardboard
clay (hardening, modeling, chemical, or kitchen)
scissors
toothpick
Read Clay (pages 108-110) before you decide what kind of clay you
want to use for this project.
1 To make the elephant’s body, break off a lump of clay about the
size of a ping-pong ball. Roll the clay into a ball (see ball, page
110). Then squeeze and stretch the ball to make it longer than it is
wide.
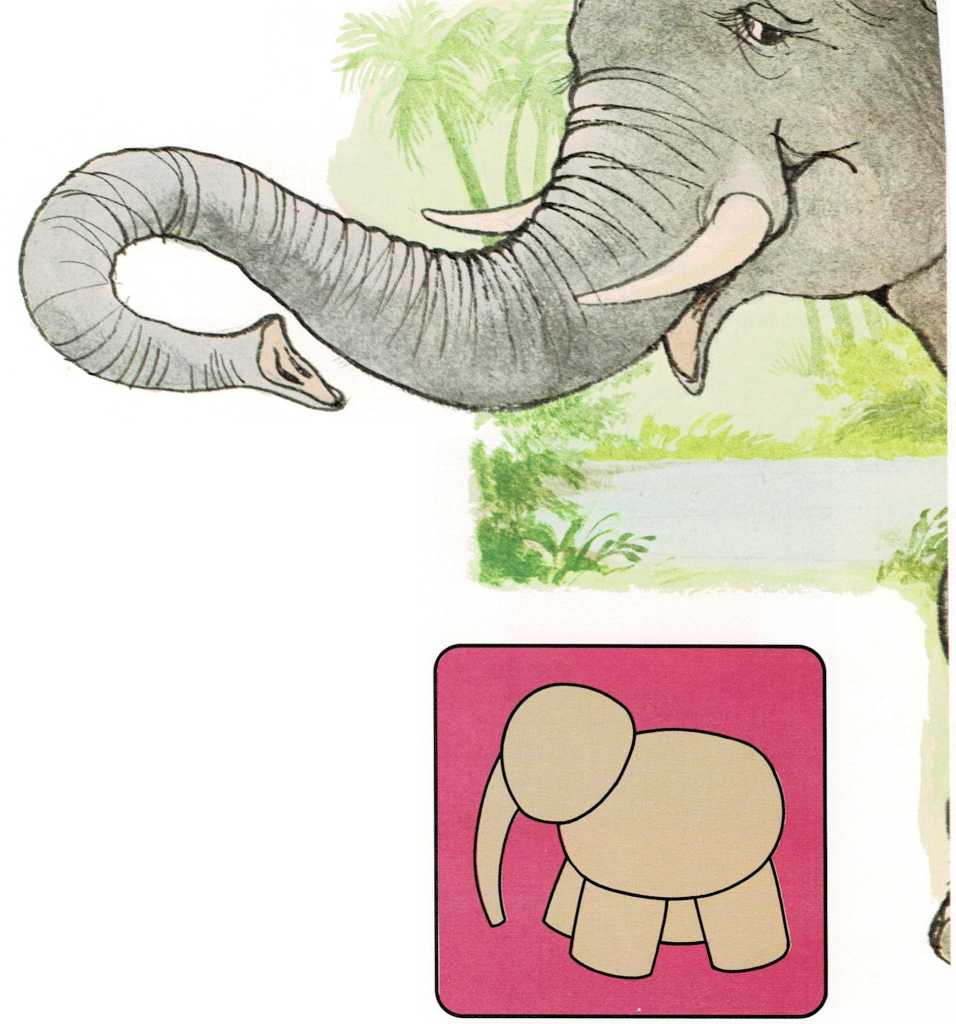
For the head, make another ball of clay about the size of a large
marble. Stick the head to the body.To make the elephant\’s legs, roll a lump of clay into a coil (see
coil, page 110). The coil should be about three times as long
and twice as thick as your first finger. Cut the coil into four
equal lengths. To make the trunk, roll another coil about as long
and as thick as your little finger.
Stick the four fat coils onto the body and the little coil onto the
head, as shown. Smooth the clay where the parts are joined together.

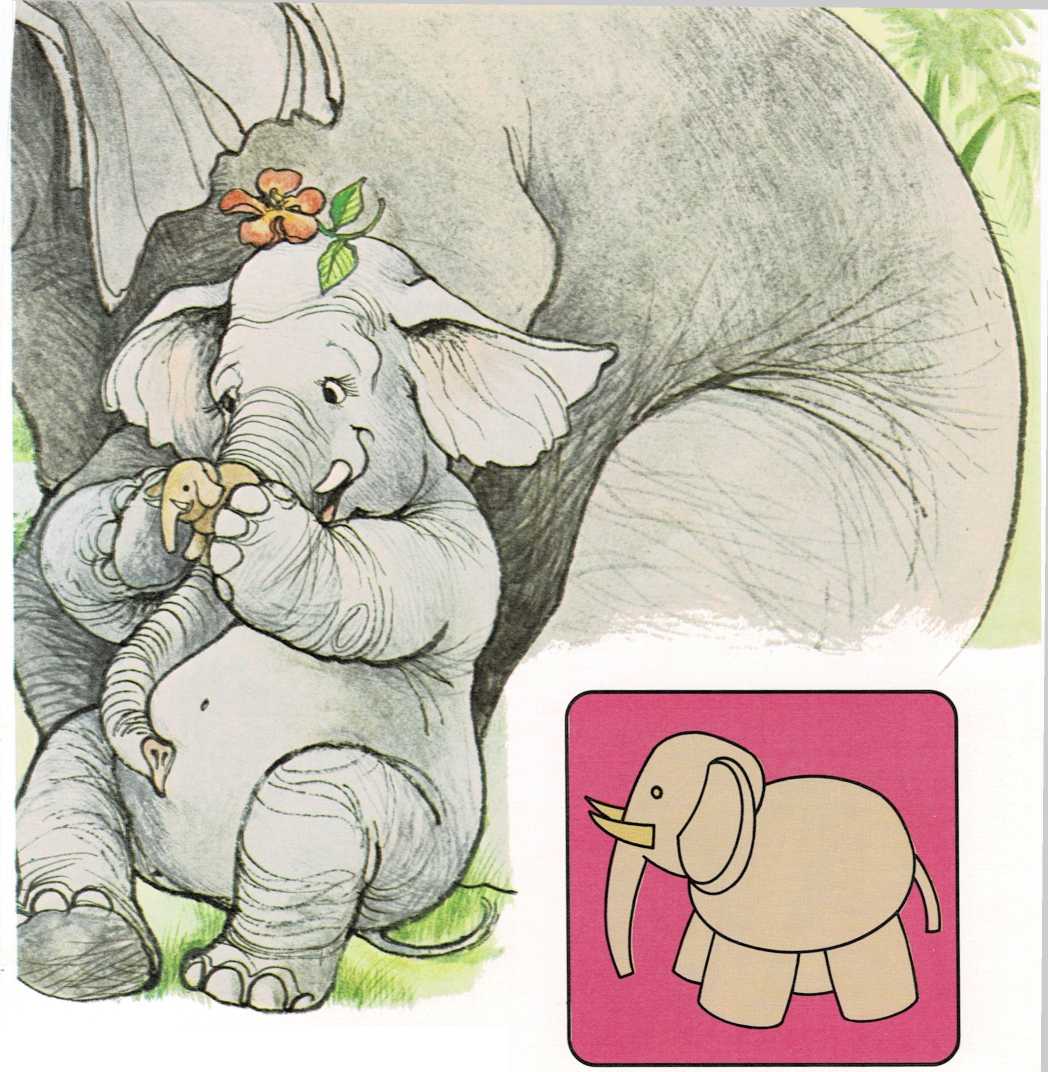
4 For the ears, flatten (see flatten, page 111) two small
lumps of clay. Stick the ears to the head. Make the joint smooth.
7 Using a toothpick, poke two little holes in the elephant’s head
for eyes
To make the tail, roll a tiny piece of clay into a coil. Stick it to
the elephant’s body.Cut two tusks from a piece of cardboard and push them into the clay,
one on each side of the trunk.
Let dry (see dry, page 111).
You can make many other kinds of animals by changing the shapes of the
heads, noses, and tails. Try modeling a rhinoceros, a hippopotamus, a
lion, or a monkey. Try using yarn, buttons, or pipe cleaners for tails,
manes, eyes, arms, and legs.

