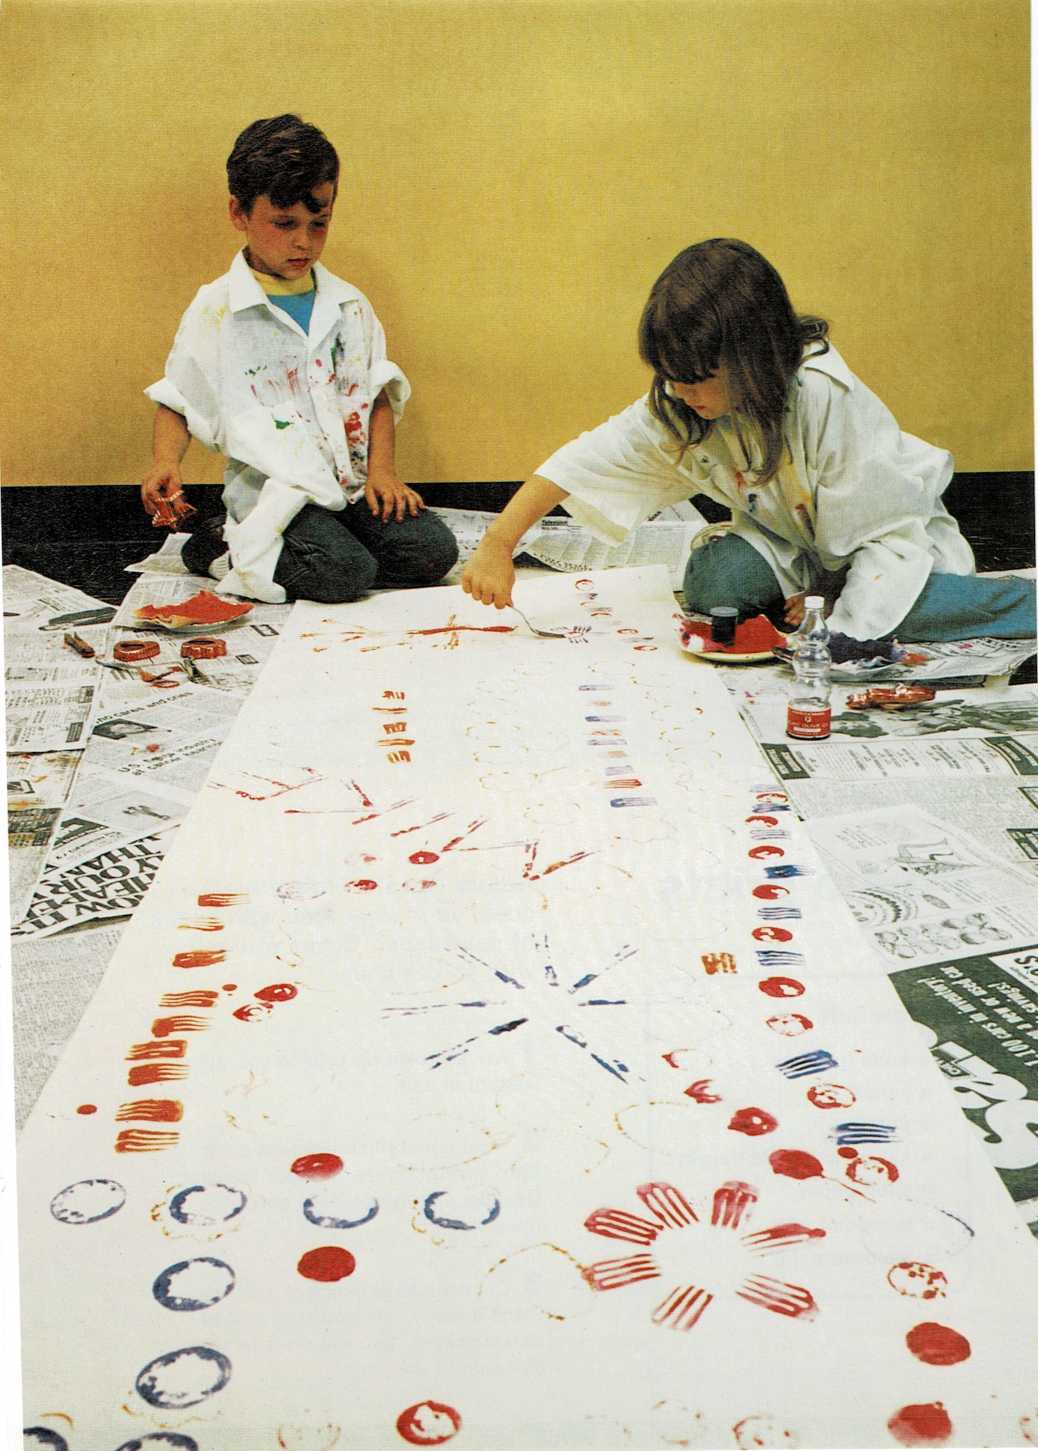
Gadget printing
Materials
Before you start this project, cover your work area with layers of
newspaper. Cover yourself with an old shirt.
jar lid
paper clips
pencil
printing pad
shelf paper
Make a stamp pad (see stamp pad, page 66).
Cut off a large piece of shelf paper. Place it shiny side up on a
layer of newspaper. You will print on the shiny side of the shelf
paper.A jar lid is a good object to start printing with. Press the rim of
the lid on the stamp pad. Make sure the rim is covered with paint.Press the paint-covered rim on the shelf paper. Press down firmly.
Do not let the lid move around on the paper. Carefully lift up the
lid. You now have a print of the rim on the paper. Make two or three
more prints before you press the lid on the stamp pad again.Print with the eraser end of a pencil, the same way you printed with
the jar lid.Now try printing with a paper clip. Bend up the small, inside part
of the paper clip. Hold the small part of the clip and press the
large part on the stamp pad. Now press the large part of the clip on
the shelf paper.Try printing with other objects you find around the house, such as
bottle caps, cookie cutters, forks, and empty spools. Look around
outdoors for rocks, sticks, and leaves to print with.


